Welcome to 3D Ways
![]()
![]()
![]()
![]()
![]()
![]()
![]()
![]()
![]()
![]()
![]()
![]()
![]()
![]()
|
|
|
|||
|
|
|
|
|
|
|
|
|
|
|
|
|
|
|
|
|
3D Ways, How to, using a Camera Use a single lens single digital camera, upload photo's to your PC or Use a normal camera and scan the developed pictures into your PC or Get your photo's Converted in to digital format and upload to your PC. General Do not adjust the camera's focal length or zoom, whilst taking the series of photo's. Do not use the flash at this time. Set camera for maximum resolution, no compression if possible. Before you take your picture, ensure the camera is on a flat level surface so you can move the camera in the horizontal plane only. Use the 1 to 30 rule as a guide. example below My Focal point . distance = 30 cm
p1 p2 p3 p4 Move distance 1cm at a time You can't take 3d moving pictures with this method. Avoid blue or red colours in the sceen if you want colour photo's Proceedure Set up you camera Take your first picture, if your subject is 30 cm away move your camera horizontally i.e. 90 deg from the subject 1cm. Take your second picture. Take a couple more for interest You should now have 2 -4 photographs stored that are slightly offset in the horizontal plane You can vary the amount you move in the horizontal to obtain the 3d limits of your 3d photo. see below Click on an image to enlarge
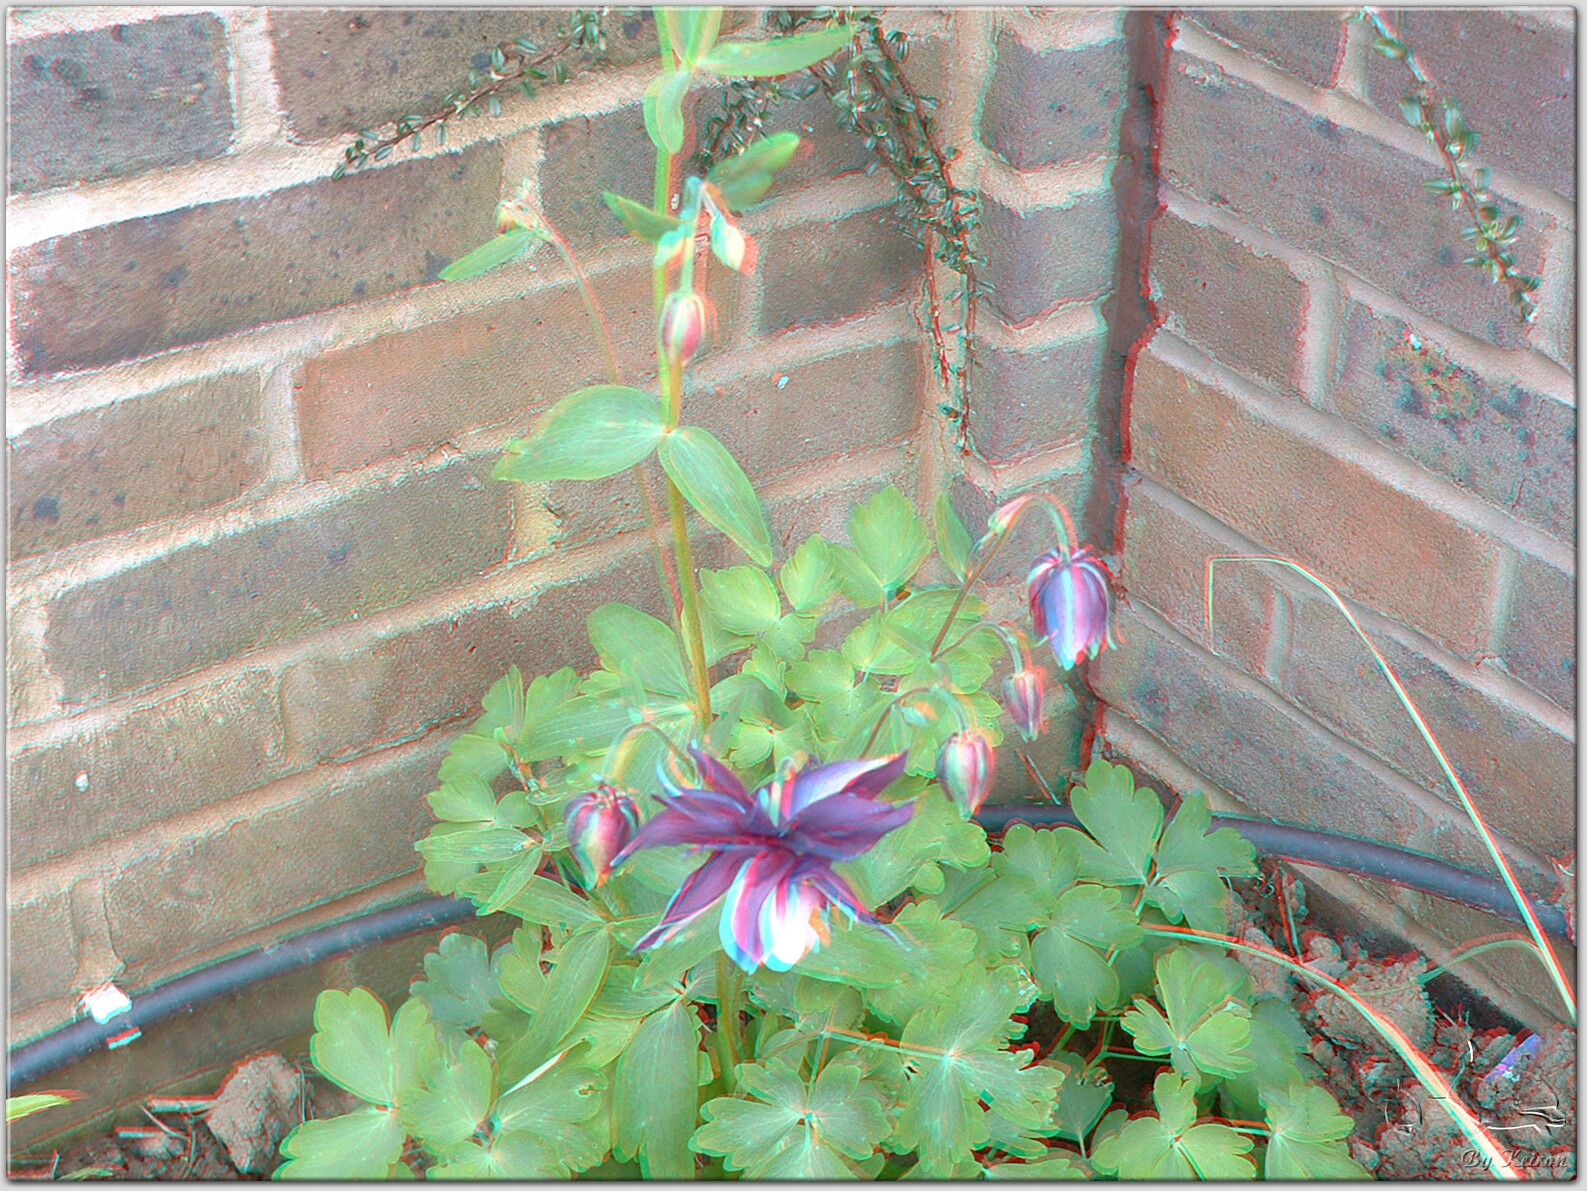
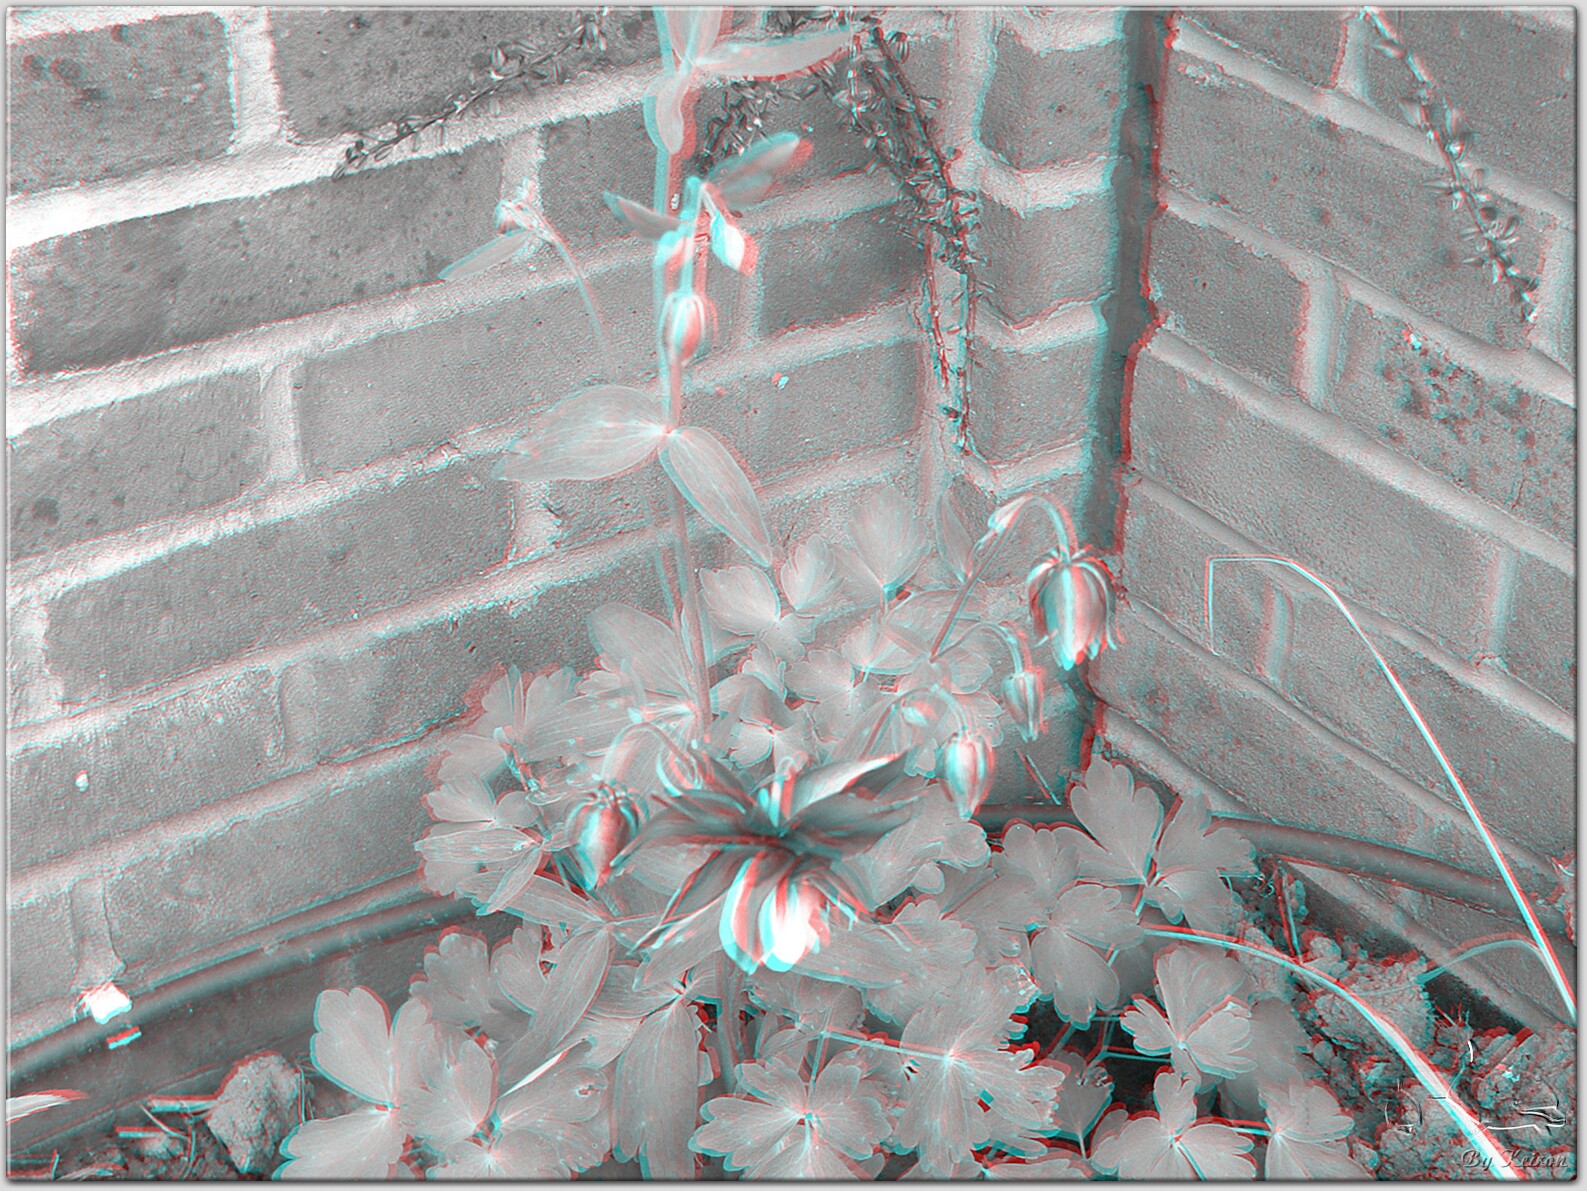
Next download and install the free Anamaker program, click on the Site Link Tab to go get it. Run the program. details available from the help menu in the program. It is important to load any two of your sequenced pictures the correct way around, if when you finished, it looks as though there is no depth or its not jumping out of the screen at you, then try loading the pictures the other way around. Having loaded 2 photo's Select grey red and cyan selection Select make 3d Image Select U and D buttons to get your photo's in the correct Vertical plane ie the same. Put on your red and blue or red and cyan glasses and take a look at your creation. Select L and R buttons to move your photo's left or right to each other, this will make the image move into or out of the screen. Select make 3d Image button to create a new version. Don't use the contrast button if you can help it. Do use the Brightness button if you wish. Do use reset if needed. Also try the colour red and cyan selection Click image below to enlarge
Save you creation for further Viewing to impress your friends. Check out Keiron's 3d Digital Art 2008 E book for more information
|
||||||